Friday, October 29, 2010

Happy Halloween

From wikipedia: Halloween (or Hallowe'en) is an annual holiday observed on October 31, primarily in the United States, Canada, Ireland, and the United Kingdom. It has roots in the Celtic festival of Samhain and the Christian holiday All Saints' Day, but is today largely a secular celebration.

Common Halloween activities include trick-or-treating, wearing costumes and attending costume parties, carving jack-o'-lanterns, ghost tours, bonfires, apple bobbing, visiting haunted attractions, committing pranks, telling ghost stories or other frightening tales, and watching horror films.


We don't really celebrate Halloween but thanks to all the advertisements from restaurants who has Halloween specials; and cartoons, my daughters do associate Halloween ghosts, skulls and Jack-O-Lanterns or anything scary.

I had an order from Sue for 30 pieces of Halloween theme biscuits. And although it was hard work doing the deco and I spent hours working on these, I rather enjoyed it. I made a couple extra too, so the girls can bring to school to share with their friends.

Tell me if you like them.

Halloween Theme Biscuits Halloween Theme Biscuits Halloween Theme Biscuits Halloween Theme Biscuits

Happy trick-or-treating if you are celebrating Halloween!

Friday, October 22, 2010

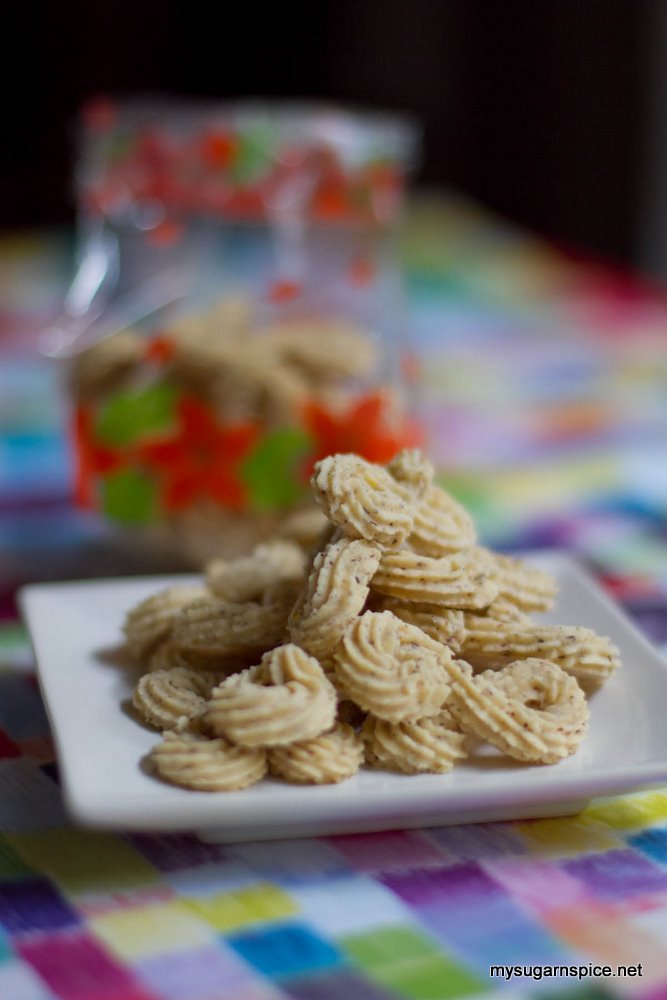
Hazelnut Twirls (榛果小饼干)

Most of the time, before baking, I'll look at what I have in the pantry, and then will search through my recipe books to find a recipe that uses the ingredients that I have. This is actually a very ineficient way of doing things, flipping through the many books that I have and looking at the ingredient list page by page, but it saves me trips to the supermarket or the baking supply shop.

So here is another day when I found I still had some ground hazelnut, instead of making another batch of Hazelnut Cocoa Balls, I thought I'll try a new recipe.

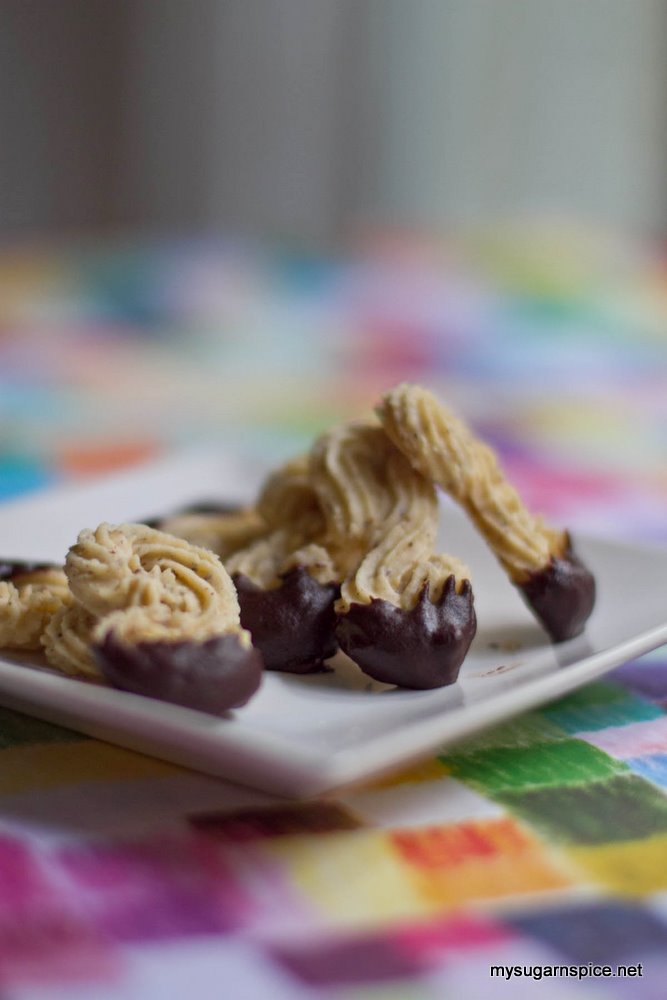
Hazelnut Twirls Coated With Chocolate

I was happy to find this Hazelnut Twirls recipe using the ingredients I have. Making the biscuit was easy, but it needed muscle to pipe those twirls. I felt as though I'd had a work out after making them.

I have coated some of these biscuits with chocolate and some without.

♥Recipe for Hazelnut Twirls♥
Adapted from 手创饼干112道 by 廖敏云
Make about 30 pieces of biscuits


You'll need

130g unsalted butter
50g icing sugar
1 tsp lemon peel, cut into small strips
1g salt
25g egg
1/2 tsp vanilla essence
160g cake flour
60g ground hazelnut


Method

1) Preheat oven to 150C. Cream butter and icing sugar

2) Beat in lemon peel, salt, egg and vanilla essence

3) Then stir in cake flour and ground hazelnut, and mix well.

4) Fill a pipping bag with the thick batter, using a star tip, pipe the batter onto a lined baking tray

5) Bake biscuit for 18minutes. Cool them on wire rack and once cooled, keep them in air tight container.

6) If you want to coat the biscuit with chocolate, you can melt some milk chocolate in a bain marrie, and dip one end of the cooled biscuit in the chocolate sauce. Place the chocolate coated biscuit on a wire rack to allow the chocolate to harden. Store in air tight container.

These Hazelnut Twirls are light and tasty, the lemon peel gave the biscuits a slight tanginess which enhanced the flavour.


Hazelnut Twirls I actually prefer those without chocolate coating, as the chocolate actually masked the origial taste of the biscuit.

Monday, October 18, 2010

Telosma Cordata Flower Soup (夜香花汤)

I live in a housing area which is rather far from a lot of things, especially commercial buildings/centres. It was a far cry from where my family house was, conveniently located near Mid Valley Mega Mall, where I lived for 20years of my life. It took me a while (and some cursing and swearing) to get used to our current place.

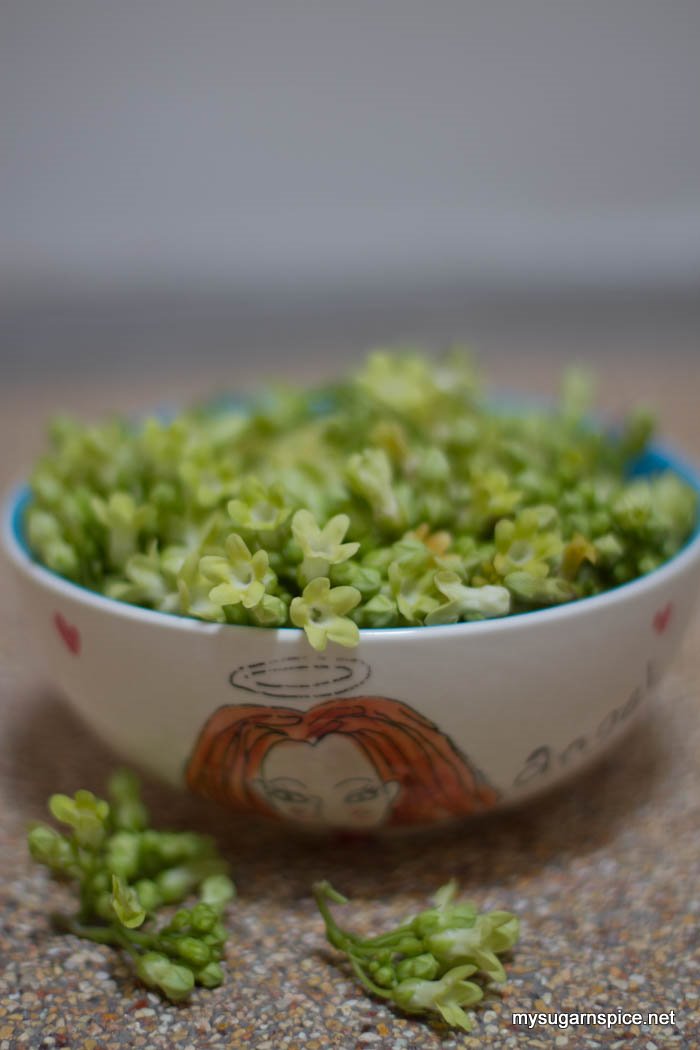
Telosma Cordata Flowers Imagine, our house was ready in 2004, and the neighbours moved in either 2004 and 2005. And in 2006, there were lots of babies born in our housing area (even my youngest was born that year). What does this tell you? The place is so far from most things so people prefer to stay home and *cough cough* after work, so lots of babies made were made!!

After living here for almost 6 years, I started enjoying the peace and quiet, and the greens surrounding the place, not to mention we have really super neighbours! Besides these, one of the other things that I like about this place is the wet market 8Km away from our place. Located at a kampung (Malay : village), it sells things cheaper than the normal town markets, and also you get some really kampung stuff that town markets may not have.

I befriend stall owners, and ask them for cooking tips on local produce. This is where I learnt to fry sweet basil omelette or fry bean curd pieces with onions and soya sauce to create tasty but cheap dishes.

And this is also where I learnt about Telosma Cordata (夜香花). An edible flower which releases its fragrance in the night (which explains its Chinese name, 'night fragrance flower'). Most elderly Chinese folks know about this flower, which is rich in carbohydrates, proteins, vitamins A and C, and is very good for the eyes.

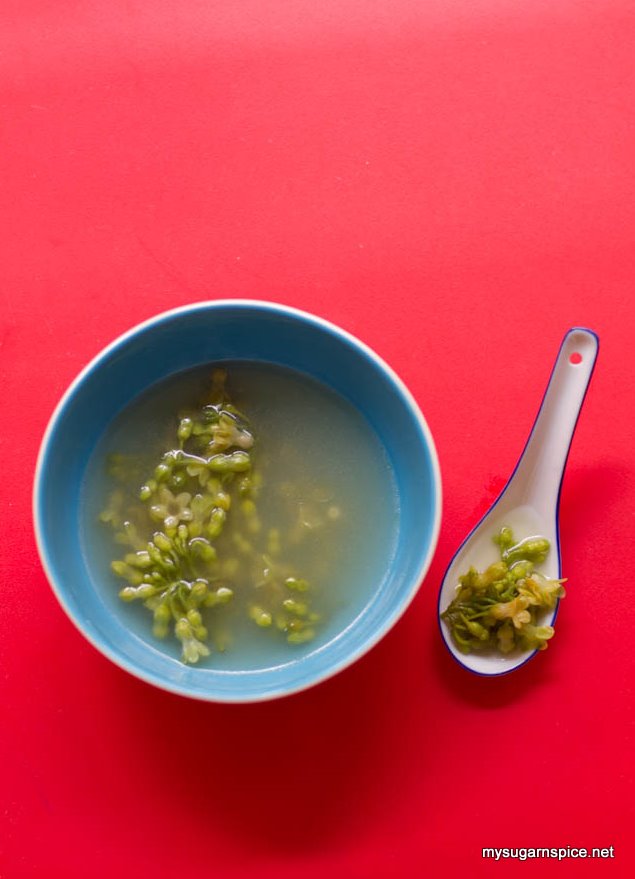
According to google and also the stall owner selling this, you can fry an omelette with the flowers or drop it in pork soup and here is what I made with them, ikan bilis (Malay : dried anchovies) soup.

♥Recipe for Telosma Cordata Flower Soup (夜香花汤)♥
(The ingredient is an estimate, you can adjust it according to your own taste and preference)
Make 6 bowls of soup


You'll need 250g of Telosma Cordata Flowers
1/2 to 1 cup of ikan bilis
2 cloves of garlic
2 shallots
2 tbs of vegetable oil
2 litre of water
salt and pepper to taste

Telosma Cordata Flower Soup Method :

1) Wash the flower by gently rinsing under running water. Rinse the ikan bilis to get rid of any dirt or salt coating the fish.

2) Skin and slice the garlic and shallots into slivers.

3) Heat oil in a wok or a stock pot, and fry garlic, shallots and ikan bilis until fragrant. Pour in water and allow to boil, then turn down the heat to medium, cover the wok or pot and let the stock boil for 15~30minutes.

4) When stock is ready, add in salt and pepper to taste. Add in the telosma cordata flower, and let it boil for another 2minutes or until the flowers are cooked. If you want to add an egg to make it an egg drop soup, this is the time to beat in an egg.

5) If the you are not serving immediately, spoon out the flowers so that the flowers do not get overcooked. Serve soup with flower.

You'll be surprised. The soup has been sweatened by the flowers as though flavouring or MSG has been added, and the flowers, a little crunchy, is also very tasty.

Thursday, October 14, 2010

Lemon Poppy Seed Sour Cream Cake

A couple of weeks back, my SIL gave me a challenge. She ordered a cake I'd never made before for her to bring to the office. I saw it as a challenge, because if I'd not made it before, I don't know how it tastes, and if it'll be nice enough to be served?

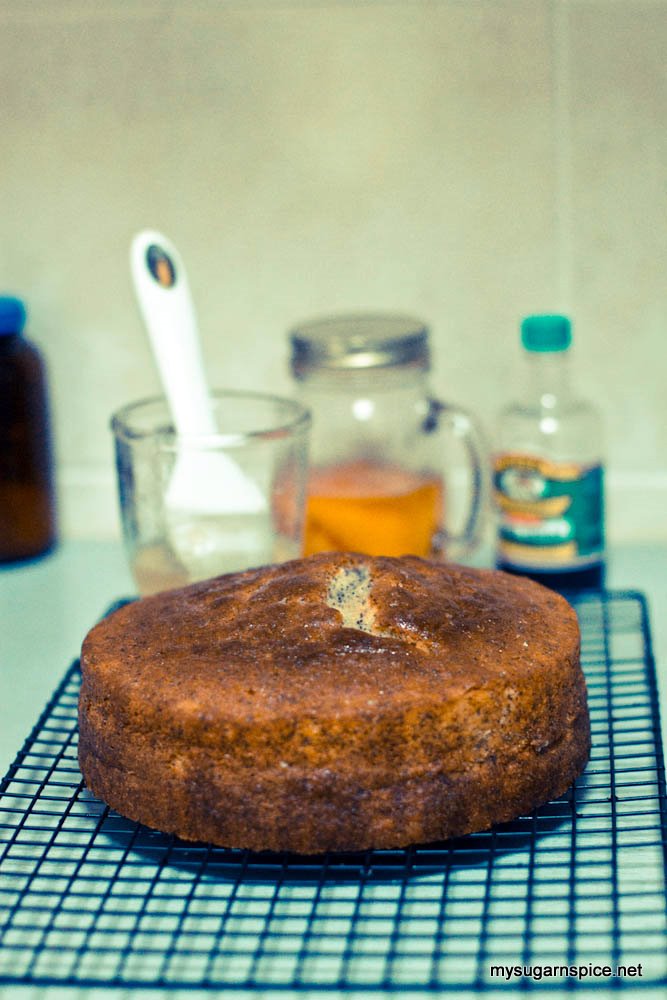
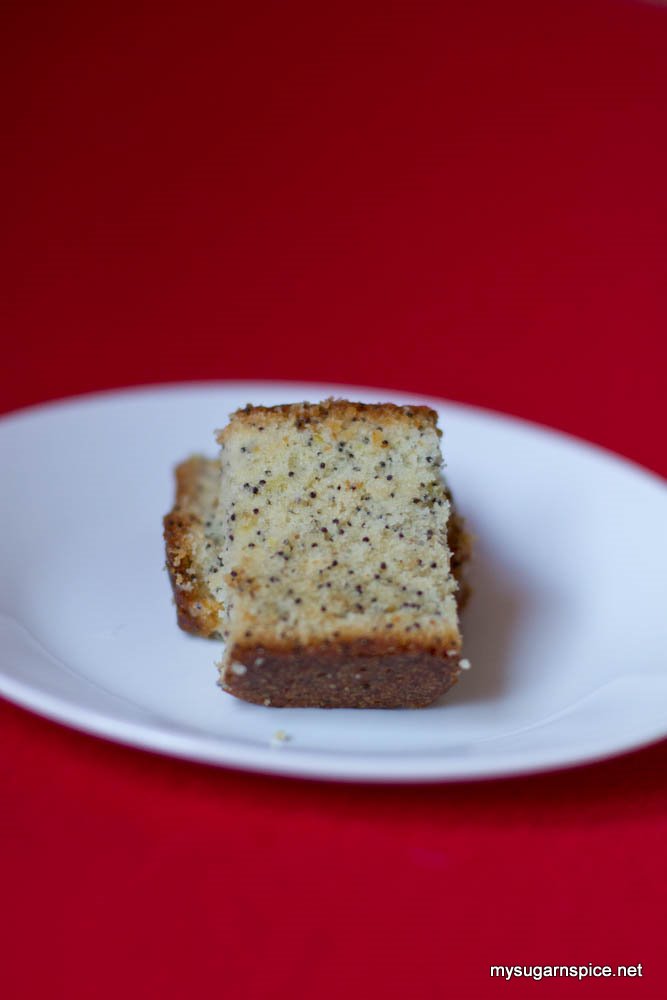
Lemon Poppy Seed Sour Cream Cake I gave her a few recipes to choose from and she chose the Lemon Poppy Seed Sour Cream Cake with Lemon Syrup. Just hearing the name, I'm puckering my lips. Seems like it's going to be a very sour cake.

After stating all the T&Cs, like I cannot guarentee its tastes, although I'll follow the recipe closely, don't blame me if it's not nice etc, then only I started working.

After making the cake, I packed it up in a box for her to be brought to the office the following day, I was anxiously waiting for her verdict's and her colleagues'.

She SMSed me soon. Saying her colleagues like them, and so did she. They almost ate everything up, but she left a few pieces for me and my MIL to try.

I didn't get to try the cake until late in the evening. My SIL dropped a few pieces off on her way home. It's a very light cake, with a nice crunch (from the poppy seeds), and the lemon gave it a pleasant tartness.

*phew* That's a relief.

♥Recipe for Lemon Poppy Seed Sour Cream Cake with Lemon Syrup♥
Adapted from Rose' Heavenly Cake by Rose Levy Beranbaum
Make a 20cm cake

You'll need

For the cake
2 large eggs, at room temperature
1 large egg yolk, at room temperature
200g sour cream
1 3/4 tsp vanilla extract
250g cake flour
250g super fine/castor sugar
1 1/2 tsp baking powder
1/2 tsp baking soda
1/2 tsp salt
10g lemon zest, finely grated
50g poppy seeds
200g unsalted butter

For the Lemon Syrup
You'll need
112g sugar
6tbs lemon juice, freshly squeezed (2 large lemon)

Method :

1) Preheat oven to 175C (160C if using a dark pan). Line a cake pan (Rose suggested to use a metal fluted tube pan but I used a 20cm cake pan) or coat it with baking spray and flour.

2) In a medium bowl, whist the whole eggs, yolk, one third of the sour cream, and the vanilla, just until lightly combined.

3) In the bowl of stand mixer fitted with the flat beater, mix the flour, sugar, baking powder, baking soda, salt, lemon zest, and poppy seeds on low speed for 30 seconds. Add the butter and remaining sour cream. Mix on low speed until the dry ingredients are moistened. Raise the speed to medium and beat for 1 1/2 minutes. The mixture will lighten in colour and texture. Scrape down the sides of the bowl.

4) Starting on low speed, gradually add the egg mixture in two parts, beating on medium speed for 30 seconds after each addition to incorporate the ingredients and strengthen the structure. Using a silicone spatula or spoon, scrape the batter into the prepared pan and smooth the surface evenly with a small metal spatula.

5) Bake for 45~55mins, or until a wire cake tester inserted into the cake comes out clean. Shortly before the cake is finished baking, make the lemon syrup.

6) In a small saucepan over medium heat, heat the sugar and lemon juice, stirring often, until the sugar is dissolved. Do not allow to boil. Cover it tightly to prevent evaporation.

7) As soon as the cake comes out of the oven, place the pan on a wire rack, poke the cake all over with a thin skewer, and brush it with about one third of the syrup.

8 ) Let the cake cool in the pan for 10 minutes. Invert onto a serving plate.

9) Brush the top and the sides of the cake with the remaining syrup.

If you do not wish to apply any lemon syrup to the cake, you can skip 6, 7 & 9.

Lemon Poppy Seed Sour Cream Cake

Wednesday, October 6, 2010

Biscuit Sponge or Ladyfingers

Instead of using Savoiardi Italian Ladyfingers, which is rather expensive, for the Green Tea Tiramisu, I made the lady fingers or biscuit sponge myself.

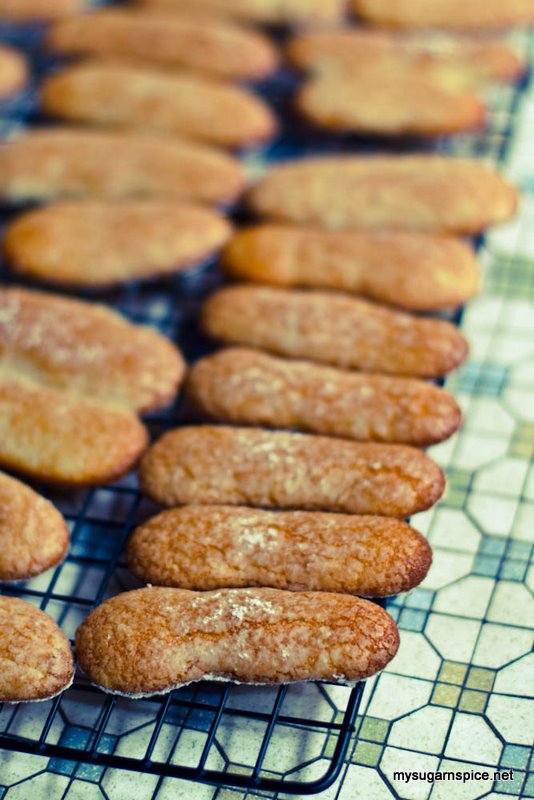
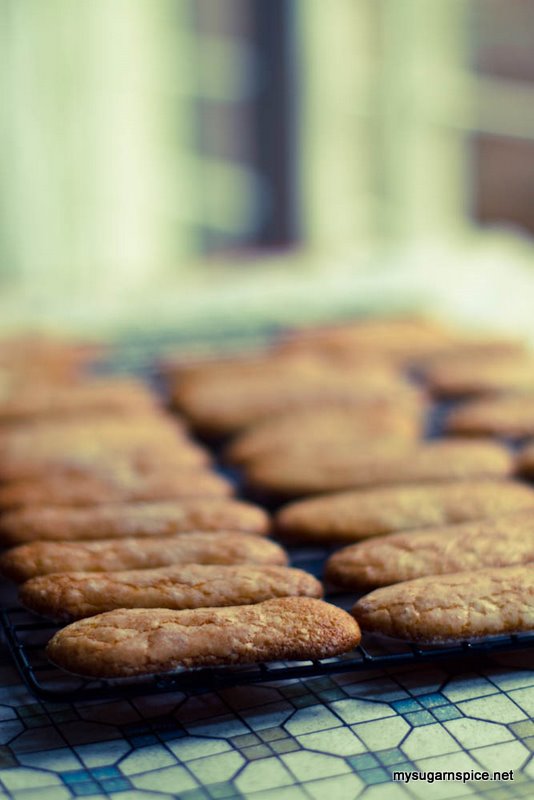
Biscuit Sponge/Ladyfingers It's actually quite easy to make, but of course, being my first attempt, I didn't know quite how to space or pipe it, they didn't turn out to be perfectly shaped. Nonetheless, tasty, and liked by my daughters even when eaten just plain.

♥Recipe for Biscuit Sponge♥
Adapted from Okashi Sweet Treats made With Love by Keiko Ishida
Make about 30~40 pieces

You'll need

2 Eggs
60g Castor Sugar
60g Pastry Flour
1tsp Vanilla Extract

Method

1) Line a baking pan with parchment paper. Preheat oven to 200C

2) Sift flour twice. Seperate egg whites and yolks. Beat yolks lightly and add half of the sugar and vanilla extract. Whisk until mixture thickens and becomes pale yellow in colour.

3) To make meringue, place eggwhites in a clean bowl and beat until foamy. Add in remaining sugar and beat until stiff peaks are formed and egg whites are glossy.

4) Add one third of megingue into egg yolk mixture and fold in lightly. Add sifted flour and fold well, then add remaining meringue and fold through just until incorporated.

5) Fit piping tip onto piping bag and fill bag with batter. Pipe out a 7cm stick shape amount, and repeat until atter is used up. Dust icing sugar on top twice, then bake for 7~10mins.

Biscuit Sponge/Ladyfingers The little one calls them cake biscuit, and she's asking me to bake for her again so that she can bring them to school as snacks.

(Note : Like the photos? All my photos before were never photoshopped, this is the first time I'm trying out Lightroom, and gosh, I so love it.)

Friday, October 1, 2010

Green Tea Tiramisu

Last week I celebrated my birthday.
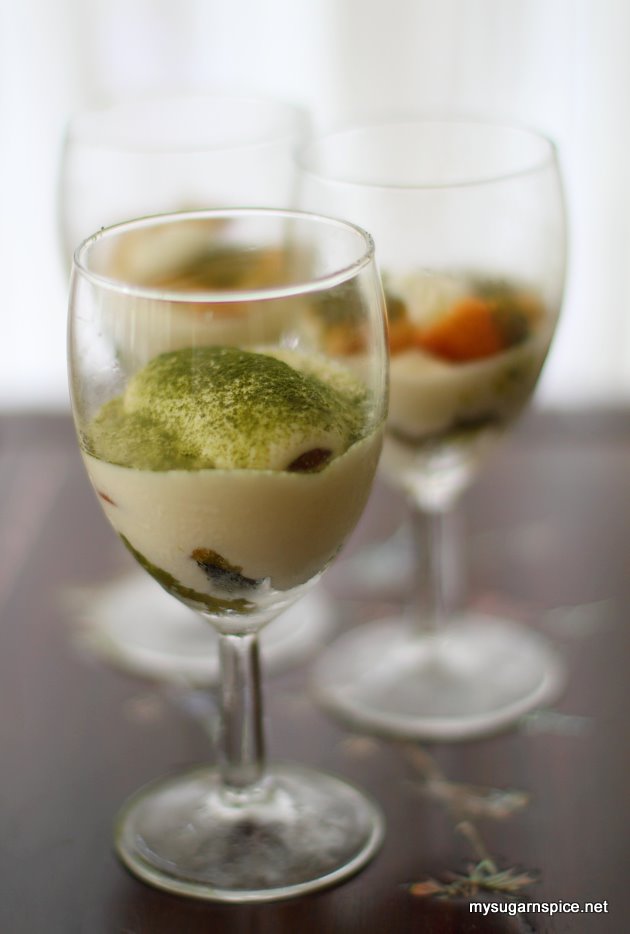
Green Tea Tiramisu My hubs is the kind who cannot seem to be able to remember my birthday or aniversary dates unless I remind him or the children remind him, he has been getting the dates wrong like forever. He's also not the sort who's bothered to spend effort to do something on such occasions.

In my 17years of knowing him and 12 years being married to him, I'd organised 2 surprise birthday parties for him when he reached his milestone age, but he's not done a single party for me, not even organising a dinner get-together inviting people other than me. The most he's done was to suggest dinner with me and the children!

This year, I was angry with him for some insensitive and unappreciative remark he's passed, and so when he suggested dinner on my birthday (after the children kept prompting, "It's mummy's birthday, what are you going to do?"), I declined.

I decided to make my own cake (as I know unless I tell him I wanted a cake, he won't be bothered buying one), and just have the usual dinner at home. I'd never made Tiramisu and thought I'll try, and because my daughters will be eating the cake, I chose the version with their favourite flavour, green tea.

I made them into individual servings, to make serving easier. The girls' love eating out from the port glasses, as they feel so 'adult' doing it.
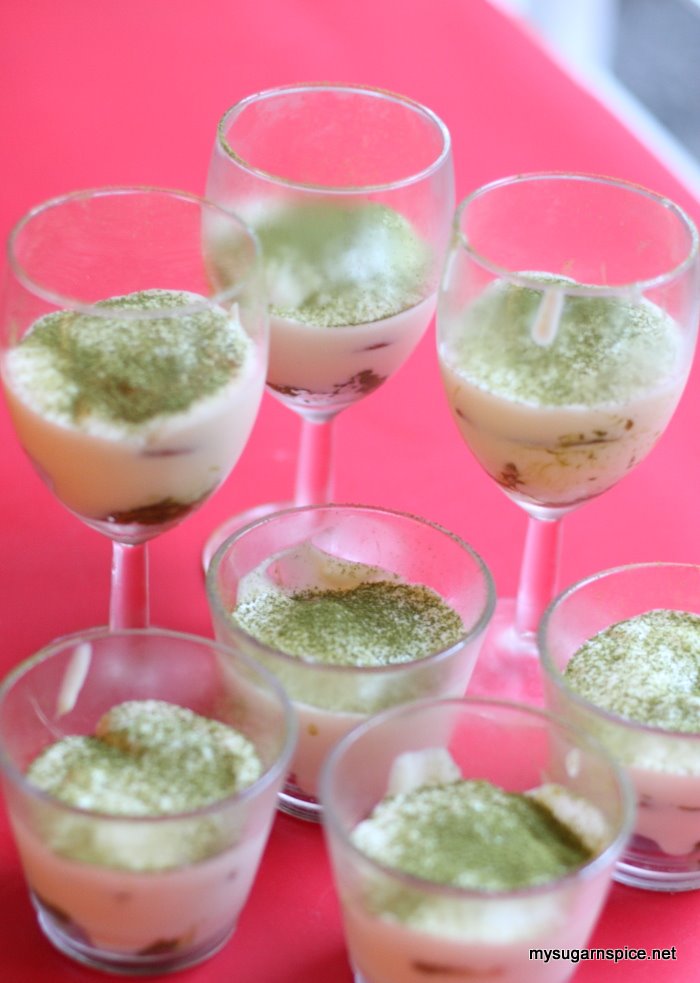
Green Tea TiramisuThe ones in shorter cups were given away. 2 to my neighbour, and 2 to my MIL who lives near us.

♥Recipe for Green Tea Tiramisu♥
Adapted from Okashi, Sweet Treat Made With Love by Keiko Ishida
Make 10 serving glasses or one 27cm oval dish

You'll need

30 pieces of Savoiardi, Italian Ladyfingers or Biscuit Sponge (I made my own Biscuit Sponge, recipe here)

Mascarpone Cheese Filling
2 Eggyolks (about 40g)
70g Castor sugar
250g Masarpone cheese
100g Whipping cream
70g Egg whites
10g Green tea powder or macha + extra for dusting
90g Hot Water

Method

1) Combine egg yolks and 30g sugar in a bowl and beat until mixture tickens and becomes pale yellow in colour (I beat mine over a bain-marie even though I was using pesturised eggs to reduce risk of salmonella)

2) Add mascarpone cheese and mix well (I added in only when the egg yolk mixture is cool down).

3) Whip cream in a chilled bowl (I'll show a picture in another post on how I do that with my kitchenaid) until stiff peaks form. And whipped cream to the mascapone cheease mixture and fold through.

4) Make the meringue. Place egg white in a clean bowl and beat until foamy. And Remaining sugar and beat until stiff peaks form and egg whites are glossy. Fold into mascarpone cheese mixture.

(Note : I skipped step 4. As this is my first time using pesturised eggs, I'm not sure if it was the character of the egg or my bowl wasn't clean, I beat the egg white for 20minutes and nothing happened. So I gave up on the egg white. I fold in the remaining 40g of sugar into the mascarpone cheese mixture)

5) Place green tea powder in a small bowl, and mix with hote water a little at a time. Stir until completely dissolved. Quickly dip both ends of each finger of biscuit sponge in the green tea mixture (since I was using port glasses, I break the biscuits into 3 pieces, before dipping into the green tea mixture. For the bottom layer, one port glass was using about 1.5 piece of biscuit), then place in prepared oval dish or glasses.

(Note : Do not worry about the biscuit being soaked too much with green tea. I made the first few glasses with sponges soaked through with green tea, and another few glasses with biscuit brushed with green tea. I find the one soaked through has better flavour, and it helped to supplement the sweet mascarpone cream cheese filling better)

6) Spread half of mascarpone cream cheese filling in a layer over soaked biscuit sponges (if you are using glass like me, spoon in enough mascarpone cream cheese filling into each glass to just cover the soaked biscuit sponges). Dip more biscuit sponges into green tea mixture and place on top of the mascaporne cheese layer. Spoon over remaining mascarpone cheese filling.

7) Dust generously with green tea powder and refrigerate until required (I suggest to refrigerate for at least 3hrs to cool it thoroughly).

Without the meringue, the mascarpone cheese mixture was extra creamy. As I spooned the tiramisu into my mouth, my spirit got lifted up. I'm glad to be able to spend the day with the children with everybody in good health. Good Health surrounded by family, that's what I wish for on my birthday.

(Oh, when I pretended to be upset and complained to my girls that they didn't sing me any birthday songs, my almost 6 year old said, "Your cake is so wobbly, how can we put candles in it to sing you a song?" o.O")